Experiential Design /Task 1: Trending Experience
Start from 24.9.2024
Kong Cai Yi / 0363862
Experiential Design / Bachelor of Design (Hons) in Creative Media
Task 1: Trending Experience

- Augmented reality (AR): a view of the real world—physical world—with an overlay of digital elements.
- Mixed Reality (MR): a view of the real world—physical world—with an overlay of digital elements where physical and digital elements can interact.
- Virtual reality (VR): a fully-immersive digital environment.
- Extended reality (XR): an umbrella term that covers all these different technologies, including AR, MR, and VR.


- Scenario: Many people go to gym but don't know how to properly use the workout machines. The AR experience could allow users to scan each machine with their phone, and a virtual trainer or instructions appear, demonstrating the correct usage of the equipment, including proper form and exercises for different muscle groups.
- Extended Visualization: This AR feature would project interactive 3D models of how to use the machines, animated in real-time, alongside tips on reps, sets, and which muscle areas are targeted. Additionally, it could offer workout routines based on the machines available.
- User Feeling: The goal is for the user to feel confident and empowered while using the equipment. The AR guidance should make the user feel secure, providing them with instant, practical knowledge to enhance their workout experience and avoid injury.

- Scenario: In a fashion store, finding the price and fitting of an item can be inconvenient, especially when trying to locate tags or sizes. The AR experience could allow customers to scan any clothing item with their phone, instantly displaying the price, size availability, and additional details like material, washing instructions, and style recommendations.
- Extended Visualization: Along with price and details, the AR feature could measure the user’s bust, waist, and hip measurements on the spot. This would help the user find the right size without needing to try on multiple options. The AR visualization could also offer a virtual fitting room where users can see themselves wearing the clothes in real-time, using their body measurements for an accurate preview.
- User Feeling: The user will feel more informed and efficient, as they can instantly access prices and sizing, and avoid the hassle of trying on clothes in a fitting room. The AR feature will save time and offer a more personalized shopping experience, enhancing both convenience and satisfaction.

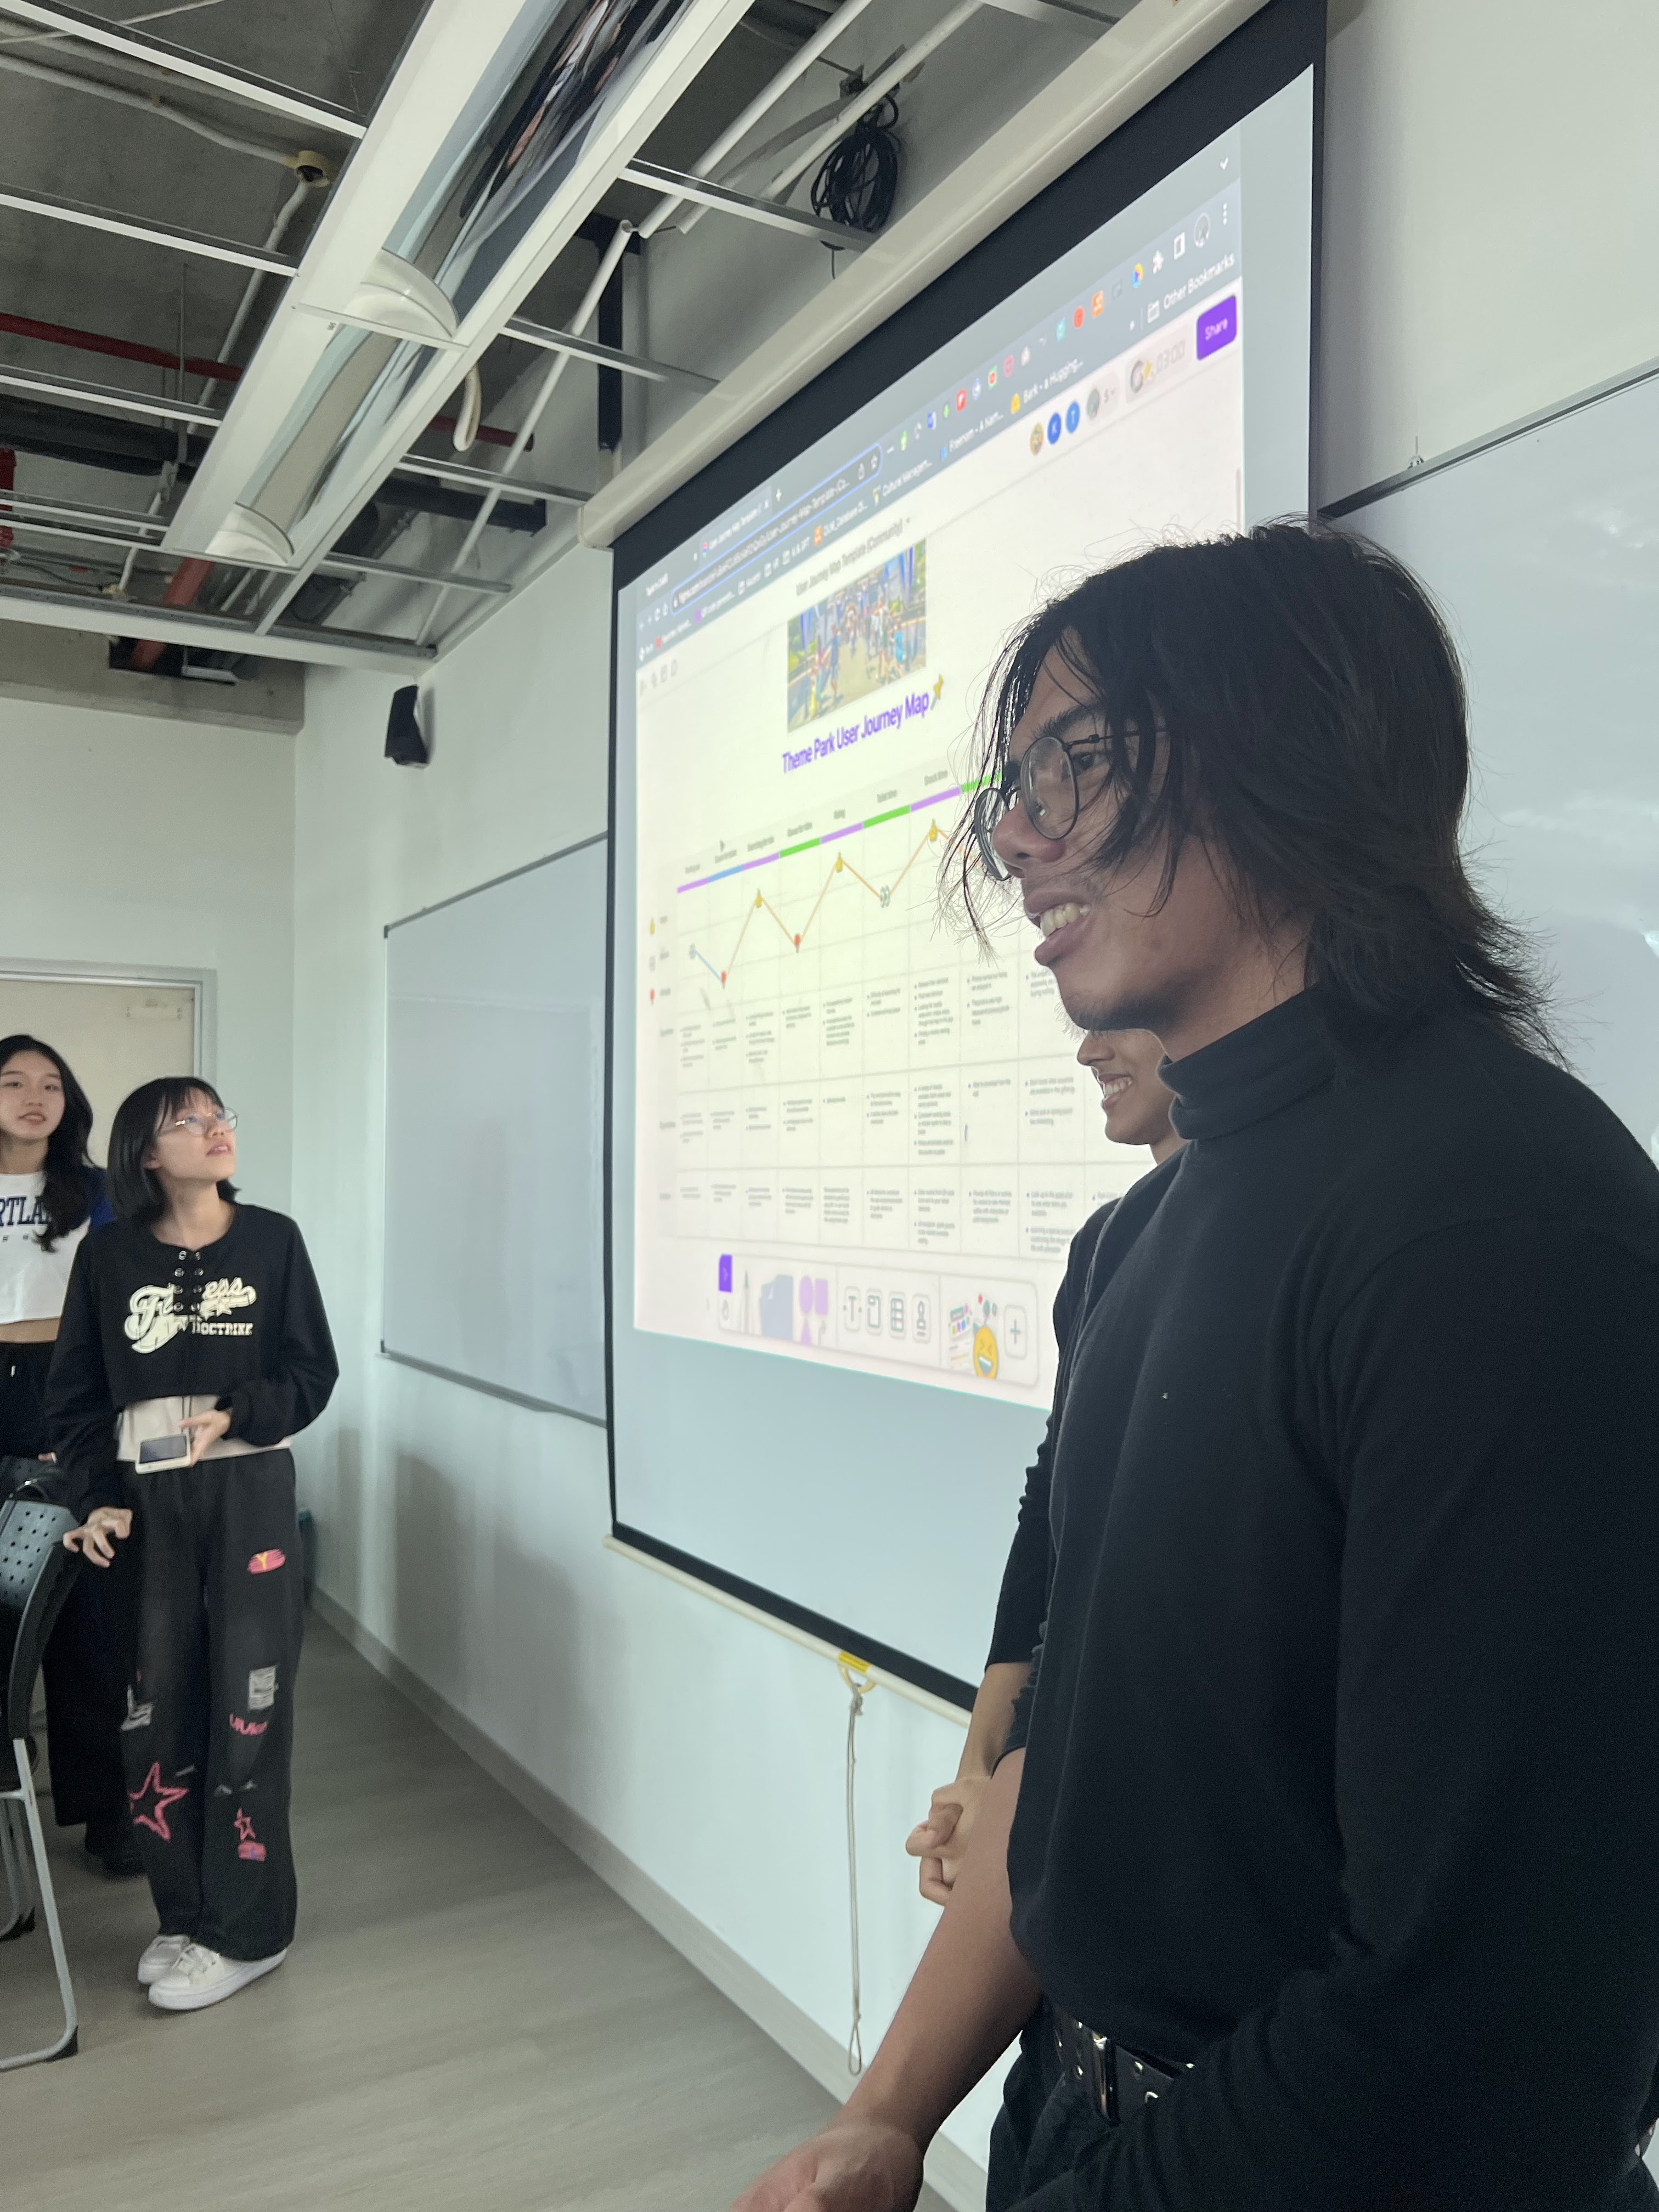
- Parking Car
- Queue for ticket
- Searching for ride
- Queue for rides
- Riding
- Toilet time
- Eatery
- Merchandise Store
- Park Exit


- Register account
- Choose 10.14 and download
- Add vuforia engine to a Unity project / upgrade to the latest version
- Finish download, double-click, then import in Unity


After downloading vuforia , we will be able to obtain the API key for us to access libraries such as dataset.


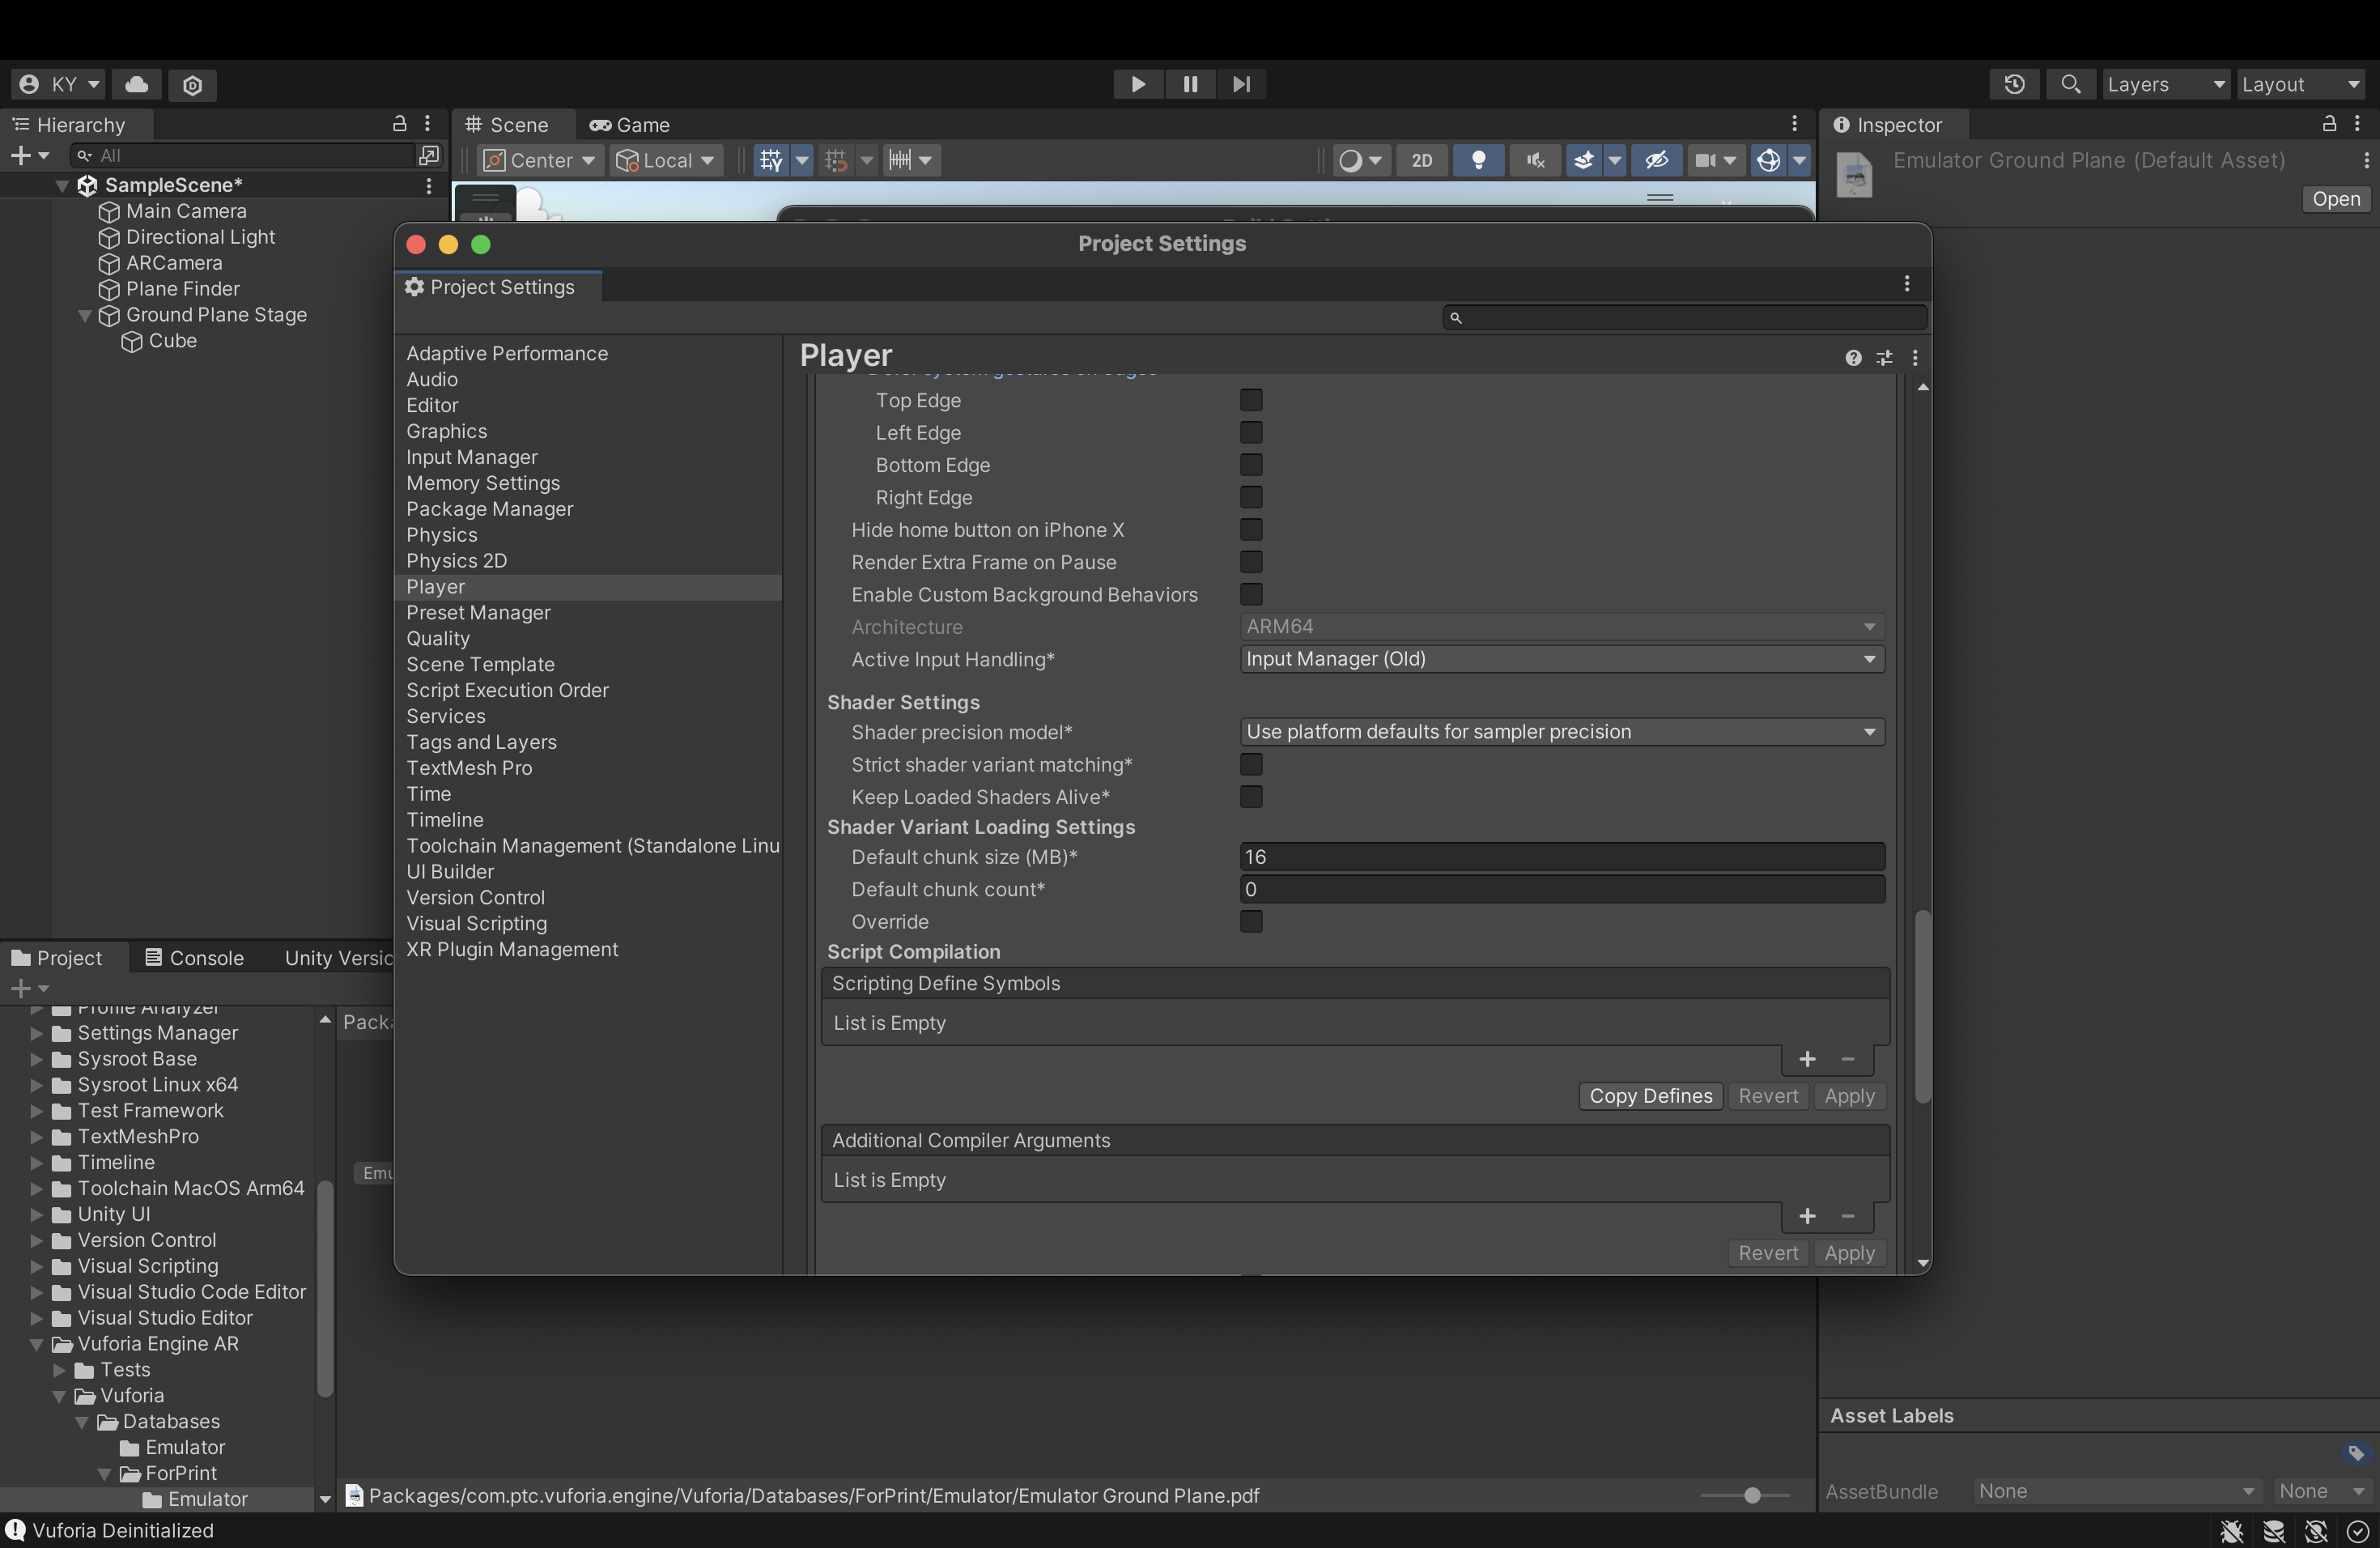
- Plane finder: allow user to detect the ground
- Ground Plane Stage: allow us to items on the ground


- Resolution and presentation > render over native UI (TICK)
- Metal API validation: disable
- Camera usage description: AR Camera
- Target minimum IOS version: 17

- Explore the current, popular trend in the market to give them better understanding of the technologies and the knowledge in creating content for those technologies.
- Conduct research and experiment to find out features and limitation which will later allows them to make decision on which technologies they should proceed with in their final project.
- To complete all exercises to demonstrate understanding the development platform fundamentals.
- Submit the link to your blog post, make sure all the exercises are updated on your blog.
14 examples of augmented reality brand experiences

Most users are still unfamiliar with AR technology and, unless they have extensive gaming experience, they may be challenged by the icons and patterns used by AR features. If your mobile app uses AR, make users aware of this feature and help them easily locate those items in your app for which it is available.
Help people interact seamlessly with your virtual objects by using clear signifiers, text labels for icons, and step-by-step instructions that are easy to see. Allow them to easily modify the AR object within the AR scene, to prevent the need for recalibration, but ensure that UI icons leave enough room for the AR scene.
Even though most users find delight in augmented reality, do not implement AR for the sake of AR, but, rather, make sure that it adds value to the overall user experience.


Marker-based vs markerless augmented reality
Marker-based AR
Pros- If the marker image is prepared correctly, marker-based AR content provides quality experiences and tracking is very stable, the AR content doesn’t shake.
- Easy to use, detailed instructions are not required for people who use it for the first time
Cons
- When the mobile camera is moved away from the marker, AR experience disappears and the trigger photo has to be scanned again. It is possible to use extended tracking, but in most cases, extended tracking makes things worse.
- Scanning will not work if markers reflect light in certain situations (can be challenging with large format OD banners in ever-changing weather conditions)
- Marker has to have strong borders/contrast between black and white colors to make tracking more stable. Smooth color transition will make recognition impossible
Pros
- Once the content is placed in a room, it is more flexible than marker-based alternatives.
- The augmented reality content may not make sense in a certain context.
- For better experience, it is required that the surface has a texture for computer vision to recognize it.
Location-based AR
Pros
- Allows for geographical targeting in tourist hotspots without requiring expensive outdoor banners
- Allows for practical applications in terms of directions
- It is challenging to get precise GEO-located experiences on mobile devices because of lack of sensors accuracy in phones.
Lecture Video
In this video, he introduced Affordances in AR (Augmented Reality) which refer to the perceived and actual properties of an object or environment that allow users to interact with it. In AR, affordances guide users on how to interact with virtual elements overlaid on the real world. For example, a 3D button may afford pressing, or a virtual object may afford rotating, swiping, or pulling. Good affordances in AR enhance usability and ensure intuitive interactions, making the experience seamless for users by aligning with real-world behaviors.Task 1 Ideation
- Idea 1 AR in Fashion Store: The user experience can be enhanced by adding a feature that outlines the user's body, allowing them to see how clothes would fit their size. I could also create a virtual fashion store that can be accessed from home, so I don’t need to visit a physical store for changes of my future progress.
- Idea 2 AR in Instax Film: When users scan the Instax film and a video pops up, this could be done online using AI. However, the user experience needs to be more engaging than just showing event details and dates. Think of ways to make the interaction more meaningful and immersive for the user.
- Idea 3 AR in Piano: Mr. Razif mentioned that this idea might be a bit inconvenient and unrealistic because people would have to keep opening their phone camera to scan notes while practicing. This could be a drawback, making it less practical for users during piano practice.

Initially, I struggled with Unity, but rewatching Mr. Razif’s lectures helped me grasp it better. The feeling of successfully launching my first AR marker was incredibly motivating. And I didn't anticipate the number of tools I’d need to download, like Vuforia and Visual Studio Code, which filled up my laptop's storage! I’ve since cleaned up space to continue progressing haha!
The class exercise in Week 1 sparked my interest in creating an AR experience for fashion stores. I’ve included this concept in my documentation, where users can scan garments in-store to receive information like sizes, price and product names in real-time. This idea excites me, and I’m determined to turn it into something innovative and engaging.


Comments
Post a Comment